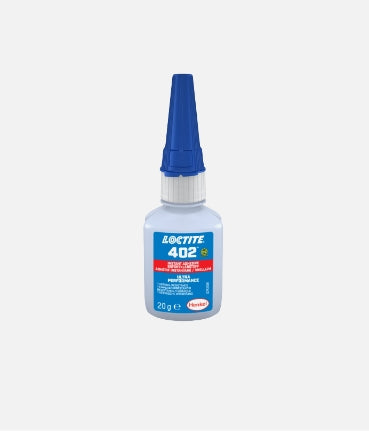
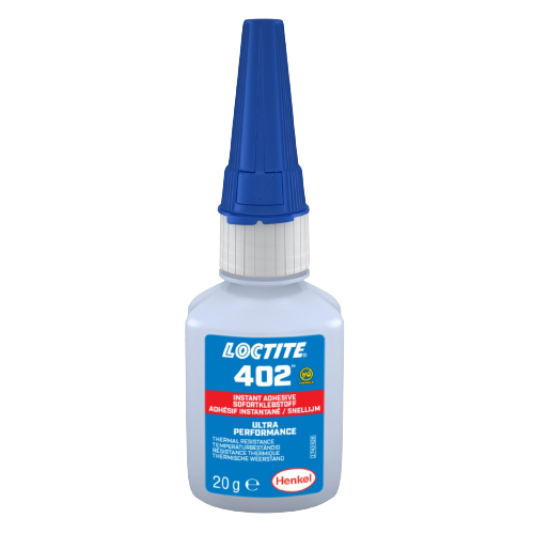
Threaded fasteners are everywhere — in machinery, vehicles, appliances, and structural assemblies. While they are reliable, they can loosen over time due to vibration, shock, or thermal expansion. This is where LOCTITE® threadlockers come in — specially formulated adhesives that lock threads in place, ensuring long-term reliability and safety.
Applying LOCTITE® threadlockers properly is crucial to their performance. This article walks you through a step-by-step guide to ensure you get the most out of this powerful adhesive solution.
1. Surface Preparation
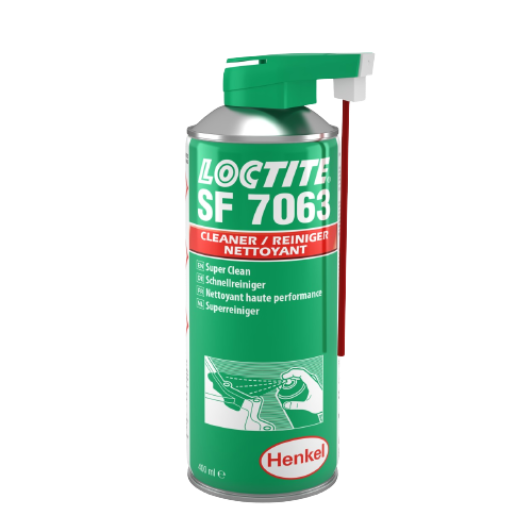
The first and most critical step in using a threadlocker is cleaning the threads. Dirt, oil, grease, and corrosion can all hinder the performance of the adhesive. Even new parts may come with protective coatings or factory-applied lubricants that prevent proper bonding.
To clean:
- Use a general-purpose parts cleaner such as LOCTITE® SF 7063 or a similar solvent-based degreaser.
- Wipe both the male (bolt) and female (nut or threaded hole) parts thoroughly with a lint-free cloth.
- Continue cleaning until no residue remains. The threads should feel dry to the touch.
Tip: If you're working with particularly oily or coated parts, consider repeating the cleaning step twice for optimal bonding.

2. Let It Dry
Once the parts are cleaned, allow them to air dry completely. Any leftover solvent or moisture can compromise the threadlocker's curing process. Give it a few minutes, or speed things up with compressed air if available.
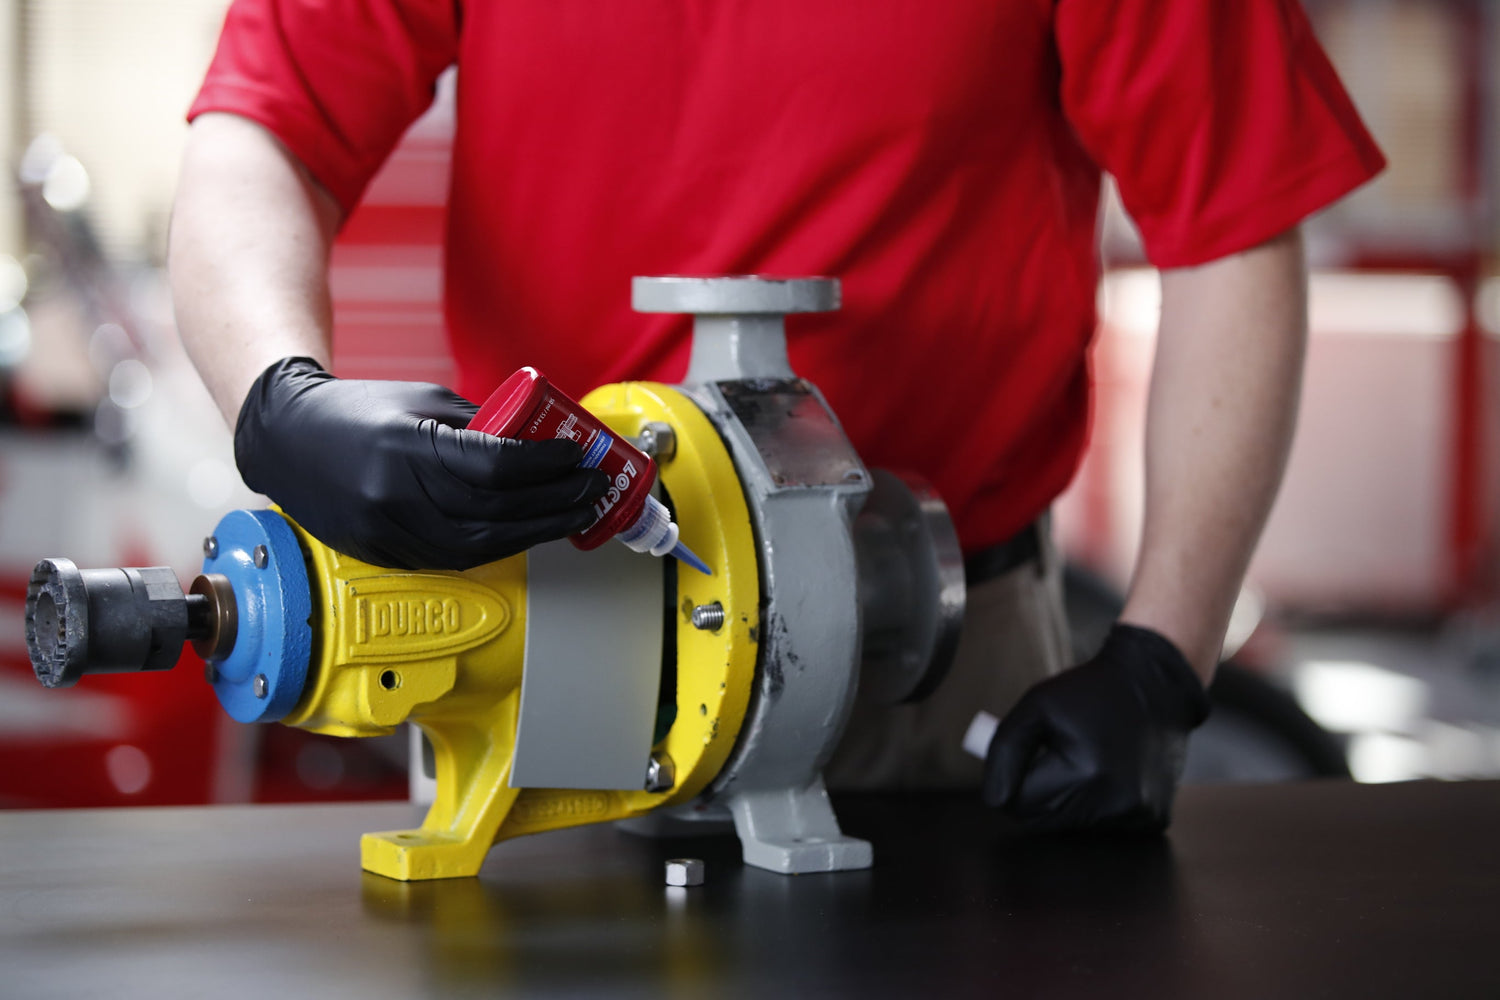
3. Apply the Right Amount of Threadlocker
Choose the correct LOCTITE® threadlocker for your application. They come in various strengths (low, medium, and high) and formulations depending on the size of the fastener and environmental conditions.
- For through-hole bolts, apply a few drops of threadlocker to the bolt’s threads, ideally where the nut will sit once tightened.
- For blind holes, apply a few drops into the hole first, then onto the bolt itself. Fill about one-third of the hole with adhesive to ensure full coverage.
Avoid over-applying — a little goes a long way. Too much can cause excess squeeze-out and mess.
4. Assemble and Torque to Specification
Immediately after applying the adhesive, assemble the components. As the fastener is tightened, the threadlocker will spread throughout the threads.
- Tighten the bolt or nut to the manufacturer’s recommended torque.
- The adhesive begins to cure as it's confined in the airless environment between the threads.
Pro Tip: Work quickly. While LOCTITE® products don’t set instantly, the curing process begins as soon as the parts are in place.
5. Allow Proper Cure Time
LOCTITE® threadlockers typically fully cure in 24 hours at room temperature. The adhesive hardens via an anaerobic chemical reaction — meaning it cures in the absence of air, which happens between the tight metal threads.
If faster cure times are needed, or if you’re working with inactive metals (like stainless steel, zinc, or aluminum), use a primer like LOCTITE® SF 7649 to speed up the reaction.
Avoid disturbing or loading the fastener until the adhesive has fully cured for best results.

Common Mistakes to Avoid
- Skipping cleaning: Even trace amounts of oil or dirt can weaken the bond.
- Using too much or too little adhesive: Stick to the recommended application amount for your fastener size.
- Not allowing full cure time: Using assemblies too soon can prevent the adhesive from achieving full strength.
Conclusion
When applied correctly, LOCTITE® threadlockers provide a simple, cost-effective way to enhance the reliability and lifespan of your assemblies. Whether you're working on industrial machinery, automotive repairs, or household projects, the right application method makes all the difference.
By following this guide, you'll ensure a secure, long-lasting bond — and peace of mind knowing that your fasteners are locked in tight.
Leave a comment
All comments are moderated before being published.
This site is protected by reCAPTCHA and the Google Privacy Policy and Terms of Service apply.