If you're looking to bond metal to plastic, Loctite is the solution you need. With its reliable and effective adhesive properties, Loctite provides a seamless bond between these two materials. In this guide, we will take you through the step-by-step process of using Loctite to achieve a strong and durable bond between metal and plastic.
Prepare the surfaces for bonding
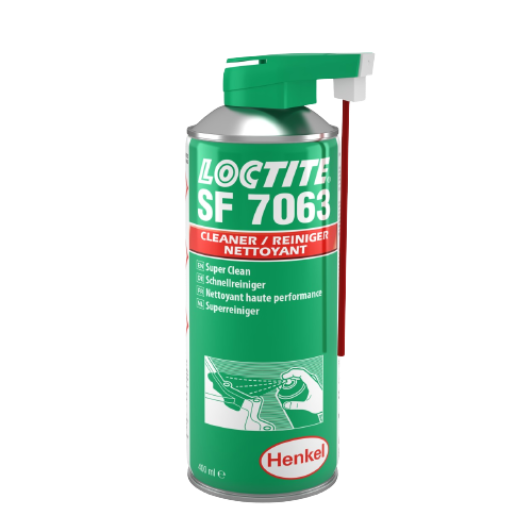
Before applying Loctite to bond metal to plastic, it is crucial to properly prepare the surfaces. Start by cleaning both the metal and plastic surfaces thoroughly to remove any dirt, grease, or debris. Use a mild detergent or solvent to ensure a clean surface. Next, roughen the surfaces slightly using sandpaper or a file to create a better bonding surface. This will help the adhesive adhere more effectively. Finally, wipe down the surfaces with a clean cloth to remove any residue from the cleaning process. By properly preparing the surfaces, you will ensure a strong and long-lasting bond between the metal and plastic materials.
Choose the right Loctite adhesive for your specific application
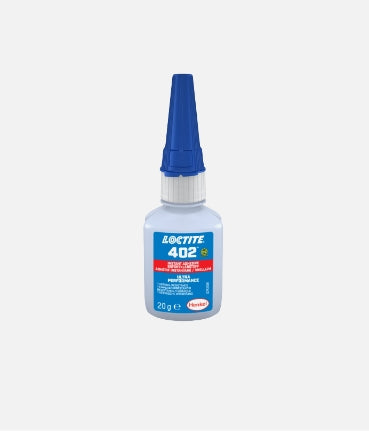
When it comes to bonding metal to plastic, it's important to choose the right Loctite adhesive for your specific application. Loctite offers a range of adhesives that are specially formulated to bond different materials together. For metal to plastic bonding, Loctite recommends using their Plastic Bonding System. This adhesive is designed to provide a strong and durable bond between metal and plastic surfaces. It is resistant to moisture, chemicals, and temperature fluctuations, making it ideal for a variety of applications. Before applying the adhesive, make sure to read and follow the instructions provided by Loctite to ensure a successful bond. With the right adhesive, you can confidently bond metal to plastic and achieve a secure and reliable connection.
Apply the adhesive evenly to both the metal and plastic surfaces
To successfully bond metal to plastic with Loctite, it's important to apply the adhesive evenly to both the metal and plastic surfaces. This ensures that the adhesive creates a strong and durable bond between the two materials. Start by cleaning both surfaces thoroughly to remove any dirt, grease, or debris that could interfere with the bonding process. Then, apply a thin, even layer of adhesive to both surfaces using a brush or applicator. Make sure to cover the entire surface area that will be bonded. Allow the adhesive to dry according to the instructions provided by Loctite. Once the adhesive is dry, press the metal and plastic surfaces together firmly to create a secure connection. It's important to apply even pressure to ensure that the bond is strong and reliable. Finally, allow the bond to cure completely before subjecting it to any stress or load. Following these steps will help you achieve a successful bond between metal and plastic using Loctite adhesive.
Press the surfaces together firmly and hold in place for the recommended curing time
After applying the adhesive to both the metal and plastic surfaces, it's crucial to press them together firmly and hold them in place for the recommended curing time. This step is essential for ensuring a strong and durable bond between the two materials. Applying even pressure will help the adhesive spread evenly and create a secure connection. The recommended curing time will vary depending on the specific Loctite adhesive you are using, so be sure to refer to the instructions provided. During this curing time, it's important to avoid any movement or stress on the bond to allow it to set properly. Once the recommended curing time has passed, you can proceed with confidence knowing that your metal to plastic bond is secure and reliable.



Leave a comment
All comments are moderated before being published.
This site is protected by reCAPTCHA and the Google Privacy Policy and Terms of Service apply.